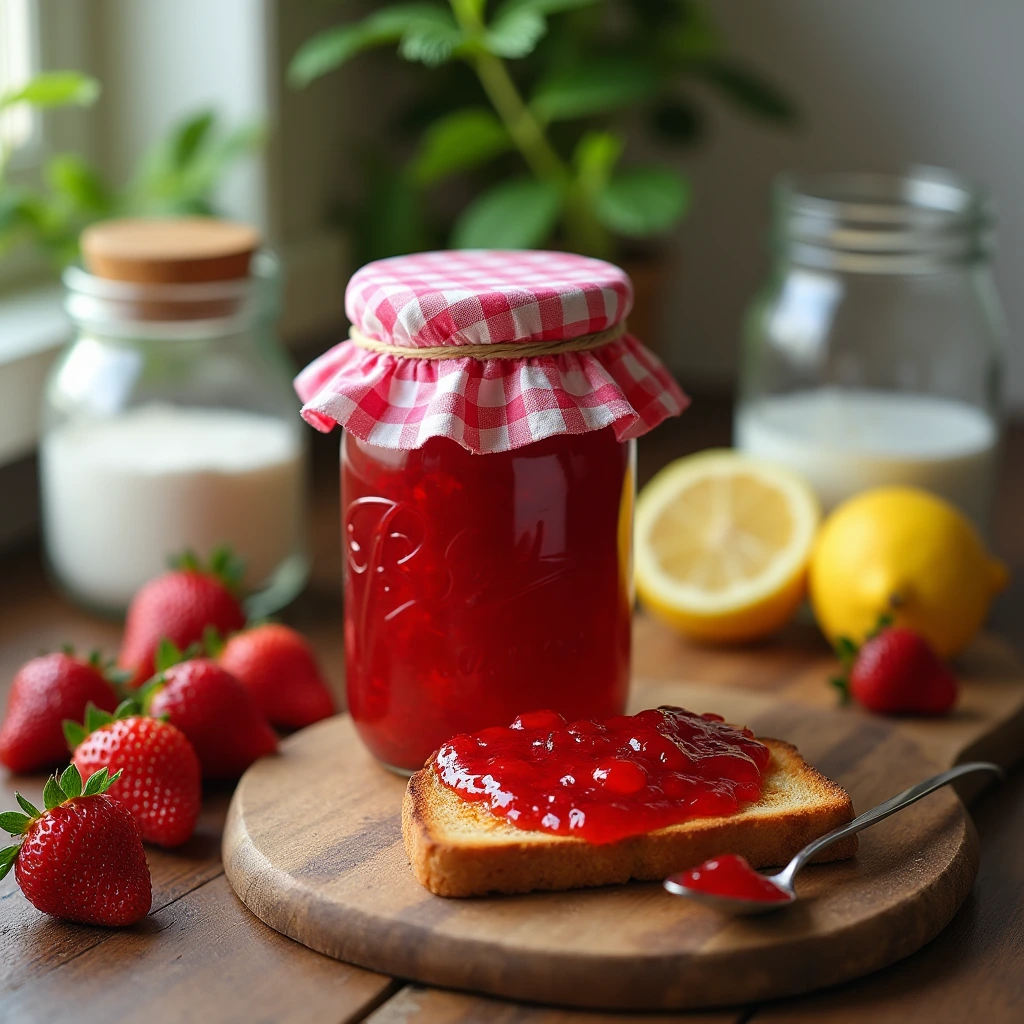
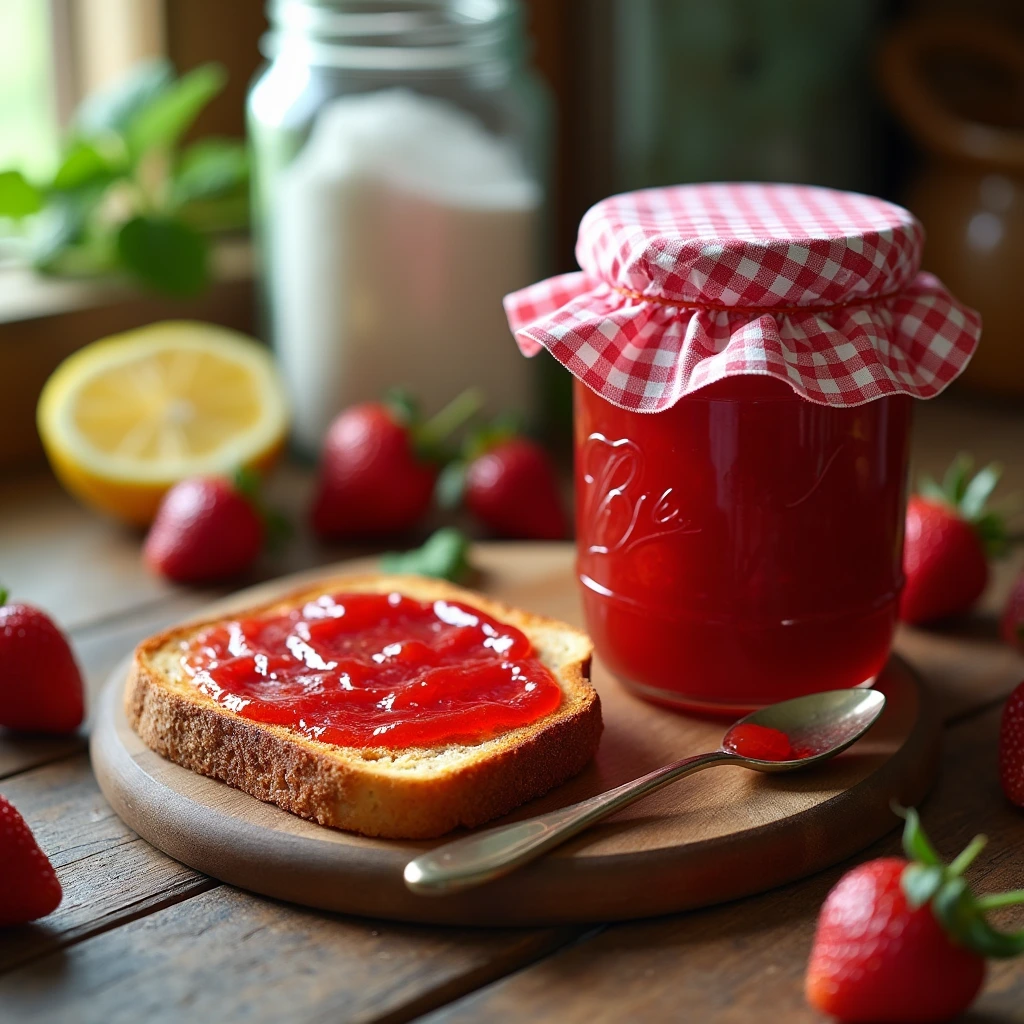
There’s something truly special about homemade strawberry jam. The sweet, fruity aroma that fills your kitchen as the strawberries cook down, the vibrant red color that dances in the jars, and the ultimate satisfaction of spreading that jam on your morning toast—it’s a feeling that store-bought jams can’t match. Making strawberry jam from scratch isn’t just a way to preserve summer’s sweetness; it’s an opportunity to bring a little joy into your home year-round. Whether you’re a seasoned canner or a first-time jam maker, this guide will walk you through everything you need to know to create a batch of delicious, homemade strawberry jam.
Table of Contents
Why Choose Homemade Strawberry Jam?
When it comes to making strawberry jam, you might wonder: why bother with the effort when you can just grab a jar off the shelf? The truth is, that homemade jam offers several advantages that make it worth the time and energy:
Superior Flavor
Homemade strawberry jam has an unmatched, fresh flavor. The strawberries you use are the stars of the show, and their sweet, tart profile is captured perfectly in the jam. Store-bought jams, on the other hand, often rely on artificial flavorings or high-fructose corn syrup, which can dull the natural taste of the fruit. With homemade strawberry jam, you’re tasting pure, unadulterated fruit.
Control Over Ingredients
One of the best things about making your strawberry jam is that you control the ingredients. If you’re trying to avoid preservatives, artificial sweeteners, or certain allergens, you can easily tailor your recipe to suit your needs. You can also adjust the sweetness, acidity, and texture of your jam to perfectly match your taste preferences.
Preservation of Summer
Strawberries are a quintessential summer fruit, and making your jam is a way to preserve that sweet, summery flavor long after the season has passed. Imagine sitting down to a breakfast of toast and homemade strawberry jam in the dead of winter—suddenly, you’re transported back to a warm, sunlit afternoon.
Health Benefits of Strawberries
Before diving into the recipe, let’s talk about why strawberries are such a great fruit to use in your homemade jam. Strawberries aren’t just delicious—they’re packed with nutrients that offer several health benefits:
- Rich in Nutrients: Strawberries are an excellent source of vitamin C, manganese, folate, and antioxidants. They are also high in fiber, which helps support healthy digestion.
- Promotes Heart Health: The antioxidants and polyphenols found in strawberries may help reduce inflammation and improve heart health by lowering cholesterol levels and blood pressure.
- Good for Skin: The high levels of vitamin C in strawberries also support healthy skin by promoting collagen production and reducing the effects of aging.
Making strawberry jam with fresh, healthy strawberries is an easy way to enjoy these benefits year-round.
Essential Ingredients for Homemade Strawberry Jam
Making homemade strawberry jam doesn’t require a long list of ingredients—just a few essentials that come together to create a delectable spread:
| Ingredient | Quantity | Notes |
|---|---|---|
| Fresh Strawberries | 4 cups | Hulled and halved |
| Granulated Sugar | 4 cups | Adjust to taste, based on sweetness preference |
| Lemon Juice | 2 tablespoons | Freshly squeezed |
| Pectin | 1 pouch | Liquid pectin works best |
| Pinch of Salt | To taste | Enhances the sweetness and flavor |
While these are the core ingredients, there are plenty of ways to get creative with your jam. Some people like to add a dash of vanilla or a sprinkle of cinnamon for added depth of flavor. You can also reduce the sugar slightly or opt for alternative sweeteners if you’re looking to make a healthier version.
Step-by-Step Guide to Making Strawberry Jam
Preparing strawberry jam is an enjoyable and satisfying experience. Follow these simple steps to create your homemade batch of jam.
Preparing the Strawberries
Start by preparing your strawberries. Here’s what you need to do:
- Wash the Strawberries: Rinse them thoroughly under cold water to remove any dirt or debris.
- Hull the Strawberries: Remove the green stems using a hull remover or simply cut them off with a knife.
- Slice or Quarter: Depending on the size of the strawberries, cut them into halves or quarters. This will help them cook down faster and more evenly.
Once your strawberries are prepped, you’re ready to start cooking!
Cooking the Jam
- Combine the Ingredients: In a large saucepan, combine your prepared strawberries, sugar, lemon juice, and a pinch of salt. Stir everything together until the sugar is evenly distributed.
- Heat the Mixture: Set the saucepan over medium heat and bring the mixture to a simmer. Stir now and then to keep the sugar from burning.
- Add Pectin: After the strawberries have softened and released their juices, stir in the pectin. This will help the jam thicken as it cooks.
- Bring to a Boil: Once the pectin is fully incorporated, increase the heat and bring the mixture to a rolling boil. Be sure to stir constantly during this step to avoid scorching.
Testing for Doneness
This is the part where patience pays off! You want to make sure your jam has thickened to the right consistency before canning. Here’s how to test it:
- Freezer Test: Place a small plate in the freezer before you begin cooking. Once you think your jam is ready, drop a spoonful onto the cold plate and return it to the freezer for 1 minute. Run your finger through the jam—if it wrinkles and holds its shape, your jam is done!
If the jam is still too runny, continue to cook it for a few more minutes and test again.
Canning and Storing
Now that your jam is ready, it’s time to preserve it for future enjoyment!
- Sterilize the Jars: Before you can, you need to sterilize your jars and lids. Simply boil them in water for 10 minutes to ensure they’re clean and bacteria-free.
- Fill the Jars: Carefully ladle the hot jam into the sterilized jars, leaving about 1/4-inch of space at the top (called “headspace”).
- Seal and Process: Wipe the rims of the jars clean, place the lids on top, and screw the rings on just finger-tight. Process the jars in a boiling water bath for 10 minutes to seal them properly.
- Let the jars cool down fully at room temperature. Once sealed, store the jam in a cool, dark place where it will last for up to a year. After opening, refrigerate the jam and use it within three months.
Creative Ways to Enjoy Your Homemade Strawberry Jam
Now that you’ve made your strawberry jam, what can you do with it? Check out these inspiring ideas to help kick things off:
- Spread on Toast: The classic way to enjoy strawberry jam—on a warm piece of toast or a buttery croissant.
- Add to Yogurt: Swirl a spoonful of jam into your morning yogurt for an extra burst of flavor.
- Use as a Glaze: Strawberry jam makes a fantastic glaze for cakes, scones, or even roasted meats.
- Pair with Cheese: Serve your jam alongside cheeses like brie or goat cheese for a sweet and savory appetizer.
- Top Your Pancakes: Forget syrup—add a dollop of strawberry jam to your pancakes for a fruity twist.
The possibilities are endless, and each time you use your jam, it’ll remind you of the love and care you put into making it.
Frequently Asked Questions
How long does homemade strawberry jam last?
When properly canned and stored in a cool, dark place, homemade strawberry jam can last up to one year. Once opened, store it in the refrigerator and use it within three months.
Can I reduce the sugar in the recipe?
Yes! You can reduce the sugar to suit your tastes, but be aware that this may affect the jam’s ability to set properly. If you’re looking for a low-sugar option, using pectin specifically designed for low-sugar jams can help.
Do I need to use pectin?
Pectin helps the jam set properly and thickens the mixture. While it’s possible to make strawberry jam without it, using pectin ensures a better texture and a quicker cooking process.
Can I make strawberry jam without canning?
If you don’t want to go through the canning process, you can make a “freezer jam.” Simply follow the recipe, but instead of canning, let the jam cool and then store it in freezer-safe containers. This version won’t last as long but can be enjoyed for several weeks in the freezer.
Conclusion: Savor the Sweetness of Homemade Jam
Making homemade strawberry jam is a rewarding experience that allows you to capture the sweetness of summer and enjoy it throughout the year. By using fresh, healthy strawberries and carefully following each step, you can create a jam that’s not only flavorful but also free from preservatives and artificial ingredients. Whether you’re spreading it on toast, swirling it into yogurt, or used as a glaze for desserts, homemade strawberry jam is a treat you’ll savor time and time again.
So, what are you waiting for? Grab some fresh strawberries, and start your journey to making your homemade jam today! Let your kitchen become a haven of sweetness and memories, one jar at a time.